Today, I will explain how to install multiple Octoprint instances in a docker container with multi webcam support.
With this setup, you can have independent control of 2 printers with 1 raspberry pi by just switching ports to choose which printer to use.
Let’s start!
Requirements:
- Raspberry Pi 3B+ or newer
- Fresh installed Raspberry Pi OS (I suggest the lite version)
- SSH client installed on your PC
- 2 3D Printers
- 2 Webcam USB
1 – Initial Setup
Enabling SSH and configure WiFi for HEADLESS setup
To enable access through the SSH protocol we need to add a simple blank file named ssh in the root of the boot partition of the SD CARD.
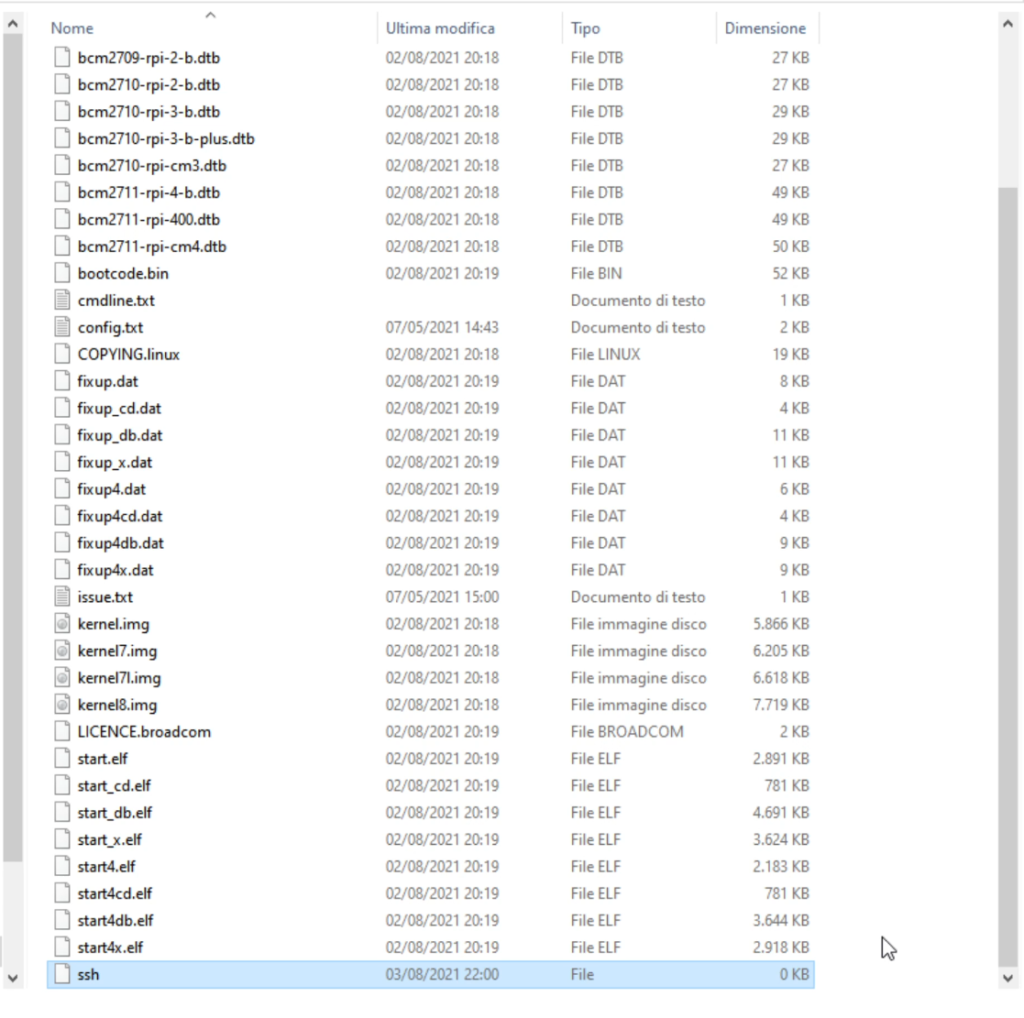
Follow the instructions below if you want to connect your raspberry using the wifi instead of the LAN cable, otherwise, you can jump to step 2.
To allow the Raspberry to join your WiFi network the step is similar to before, we need again to create a new file in the root of the boot partition but this time named wpa_supplicant.conf.
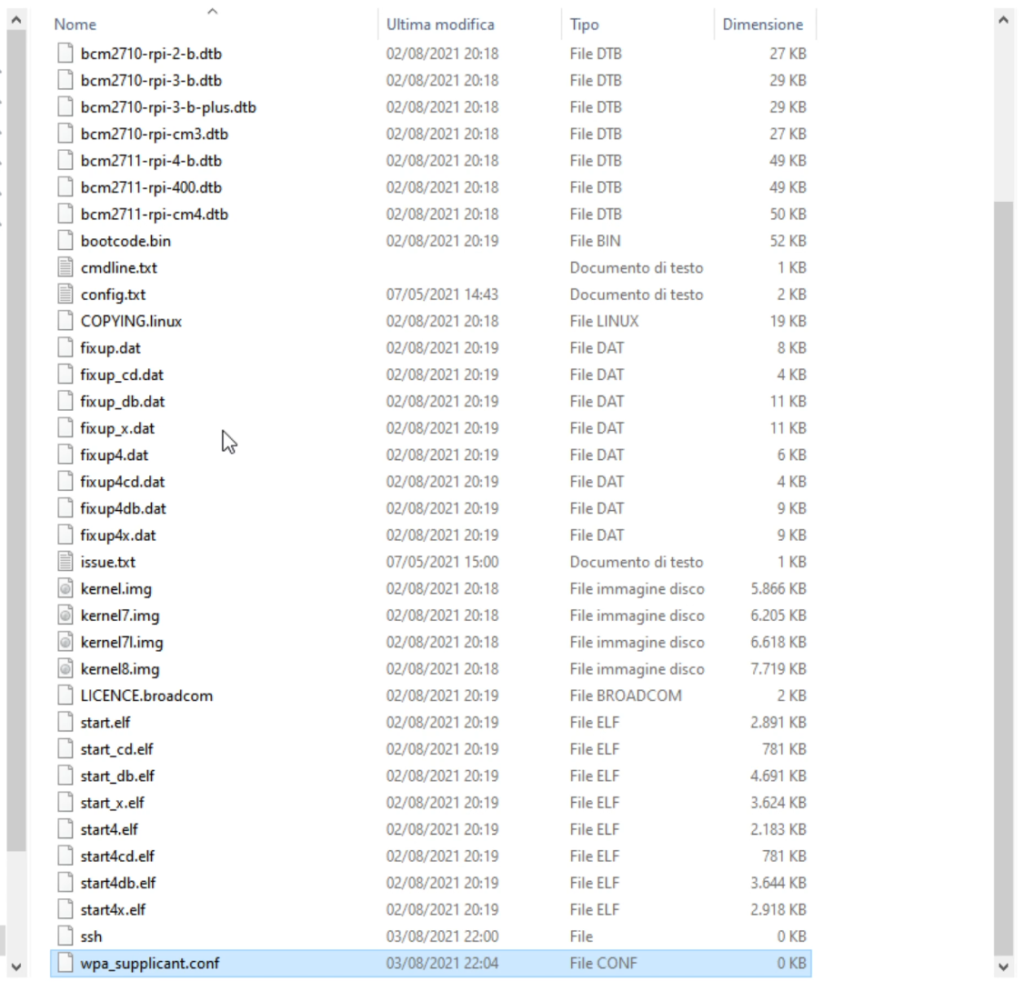
Once the wpa_supplicant.conf file is created we need to edit it as follow:
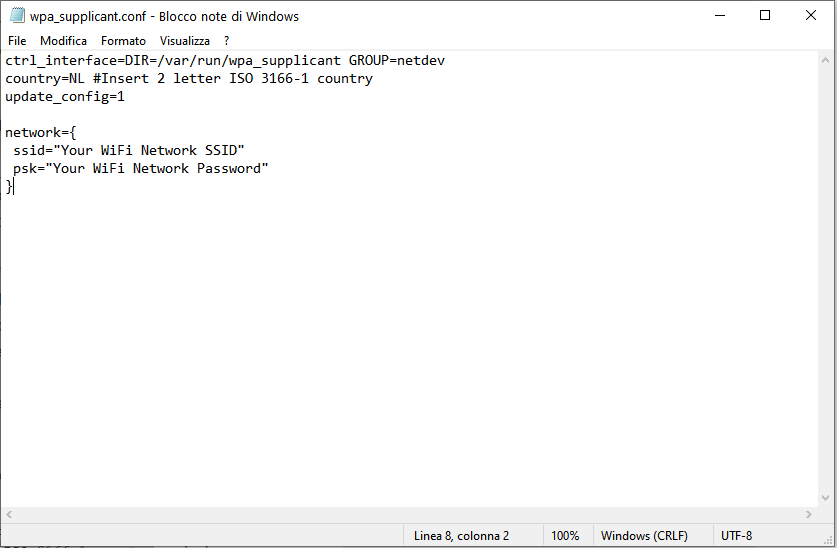
ctrl_interface=DIR=/var/run/wpa_supplicant GROUP=netdev
country=NL #Insert 2 letter ISO 3166-1 country
update_config=1

network={
 ssid="Your WiFi Network SSID"
 psk="Your WiFi Network Password"
}
At this point the initial setup is completed, you can remove the SD CARD from the computer and move it to the Raspberry Pi, Connect the 2 printers and WebCams to it and turn on the system.
Let’s move to step 2:
2 – Login to the terminal via ssh
If you followed step by step point 1 your raspberry should be connected to the network waiting for instructions.
Open your SSH client (I’m using PuTTy for windows) and try to reach the terminal using the standard Raspberry Pi hostname raspberrypi on port 22
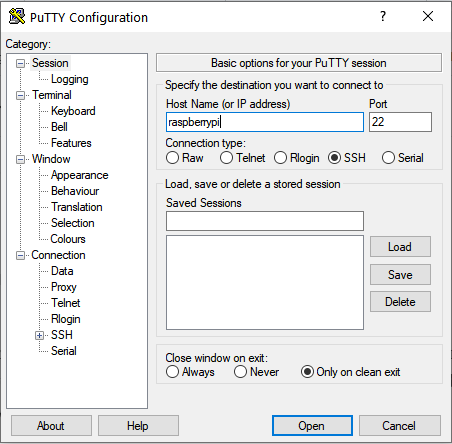
and click the button OPEN
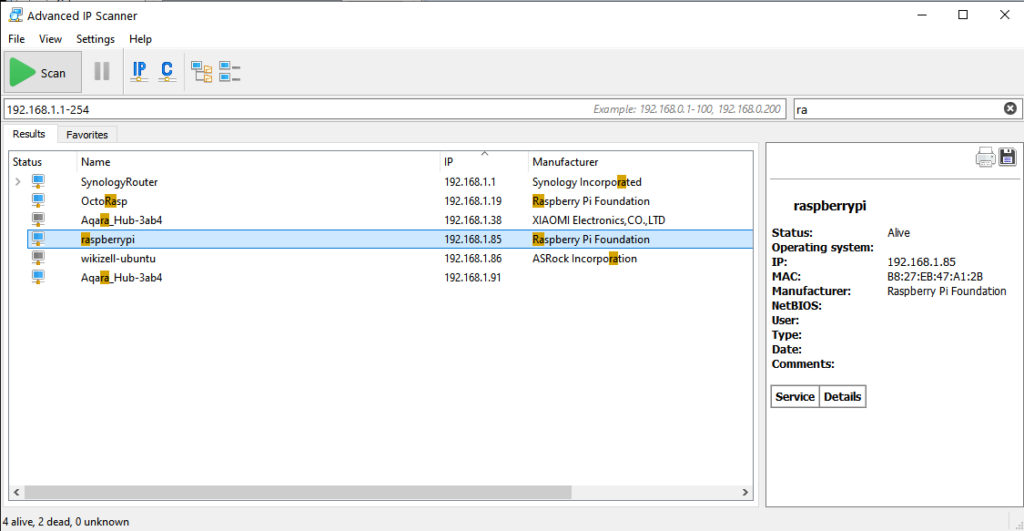
When the connection has been established you will be asked for username and password type the default one:
username: pi
password: raspberry
below you can see how the console will look after the login.
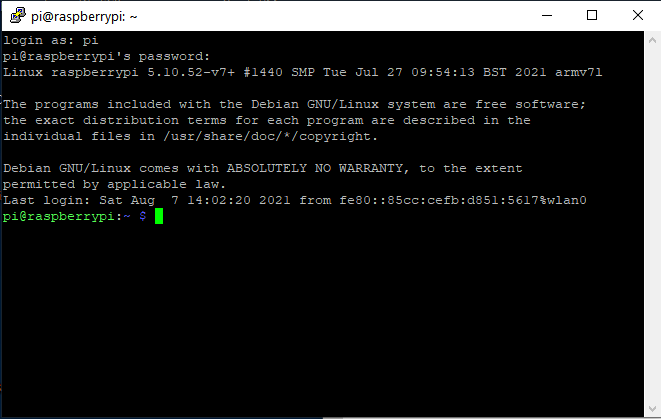
3 – Change of the terminal password
now we are going to install change the password of the terminal for security reasons:
passwd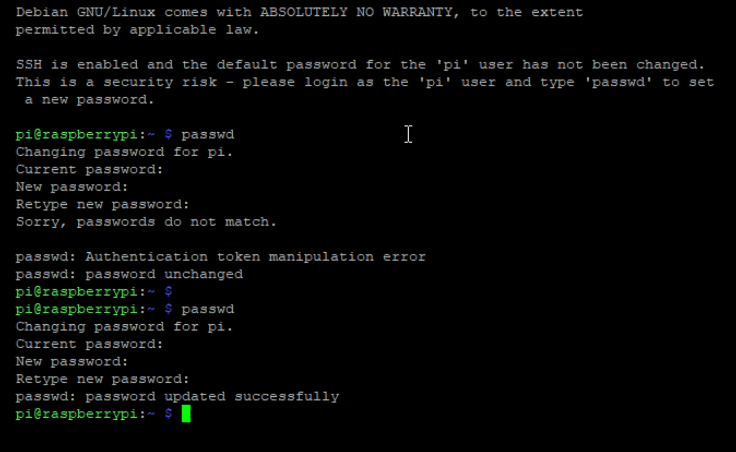
and then we need to reboot the system:
sudo reboot4 – Upgrade of the system and DOCKER installation
Once back and logged in with the new password we perform a system update with the following command:
sudo apt-get update && sudo apt-get upgrade -yand we start the installation of docker:
curl -fsSL https://get.docker.com -o get-docker.sh
sudo sh get-docker.sh
assign the user pi to docker and reboot the system
sudo usermod -aG docker pi
reboot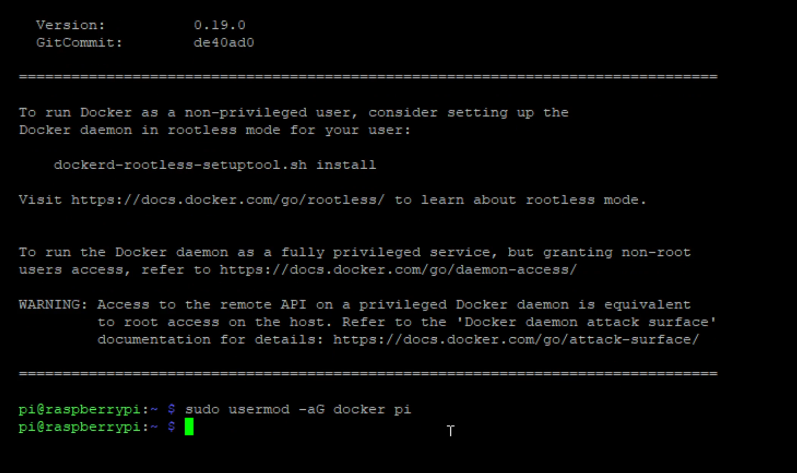
5 – Installation of PORTAINER
docker is installed and since we want a better life we also want a nice WEB UI to manage all our containers. To do it we will use PORTAINER.
To install PORTAINER type the following code:
docker pull portainer/portainer-ce:linux-arm
docker run -d -p 9000:9000 --name=portainer --restart=always -v /var/run/docker.sock:/var/run/docker.sock -v portainer_data:/data portainer/portainer-ce:linux-arm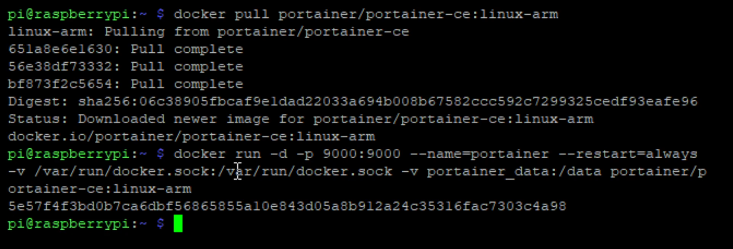
well PORTAINER is installed as well and will be reachable at the following address:
http://raspberrypi:9000/

in case you are not using the host name:

http://192.168.x.x:9000/ 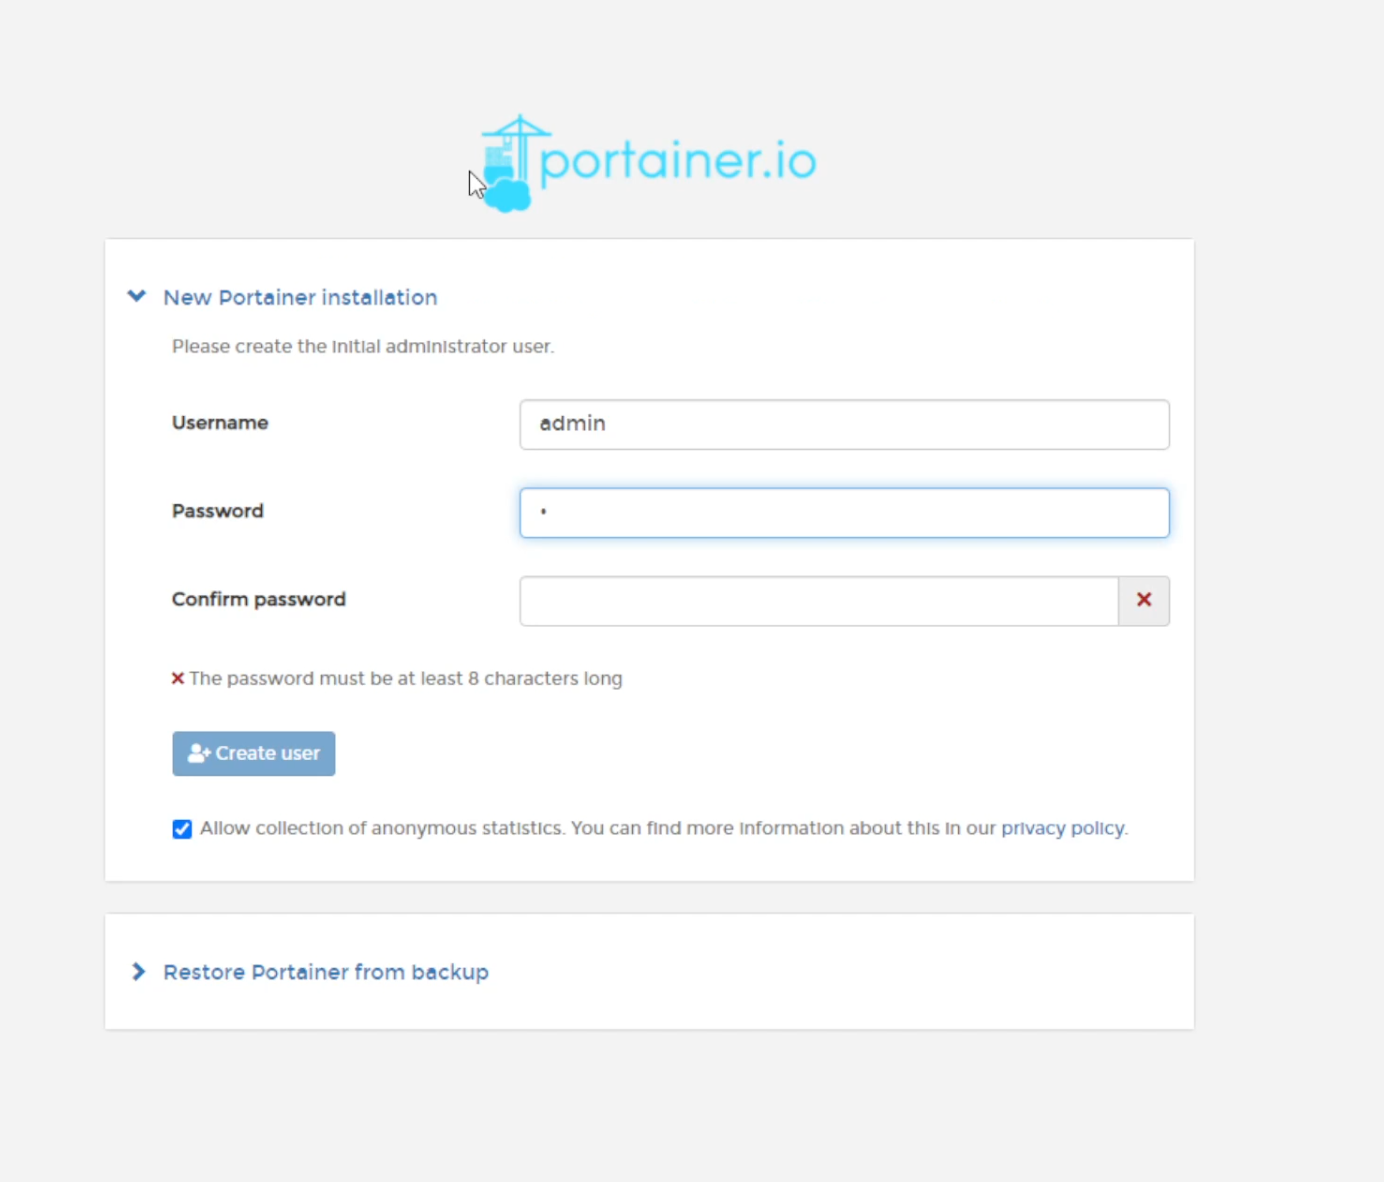
As first login we are asked to set up a new password, just follow the instruction and click on Create User.
The next question will be to choose which docker environment PORTAINER needs to be connected to. Choose DOCKER (Manage the local docker environment) and click Connect.
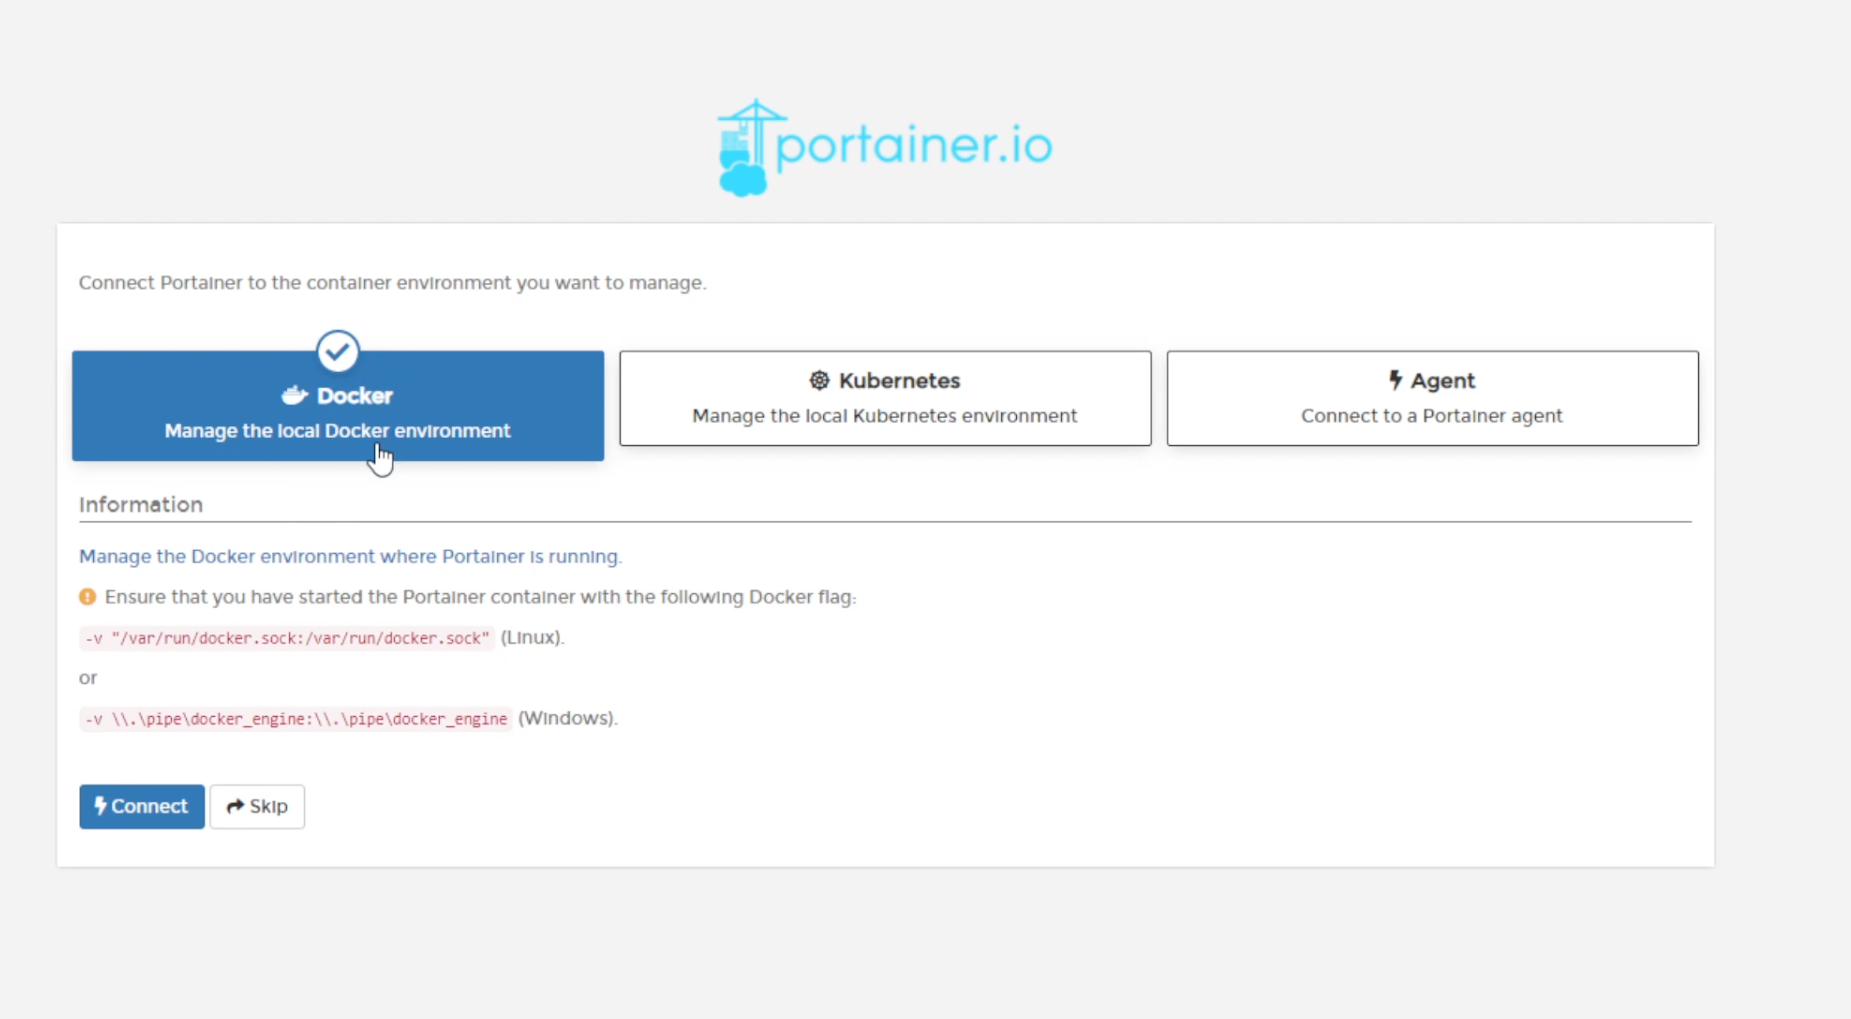
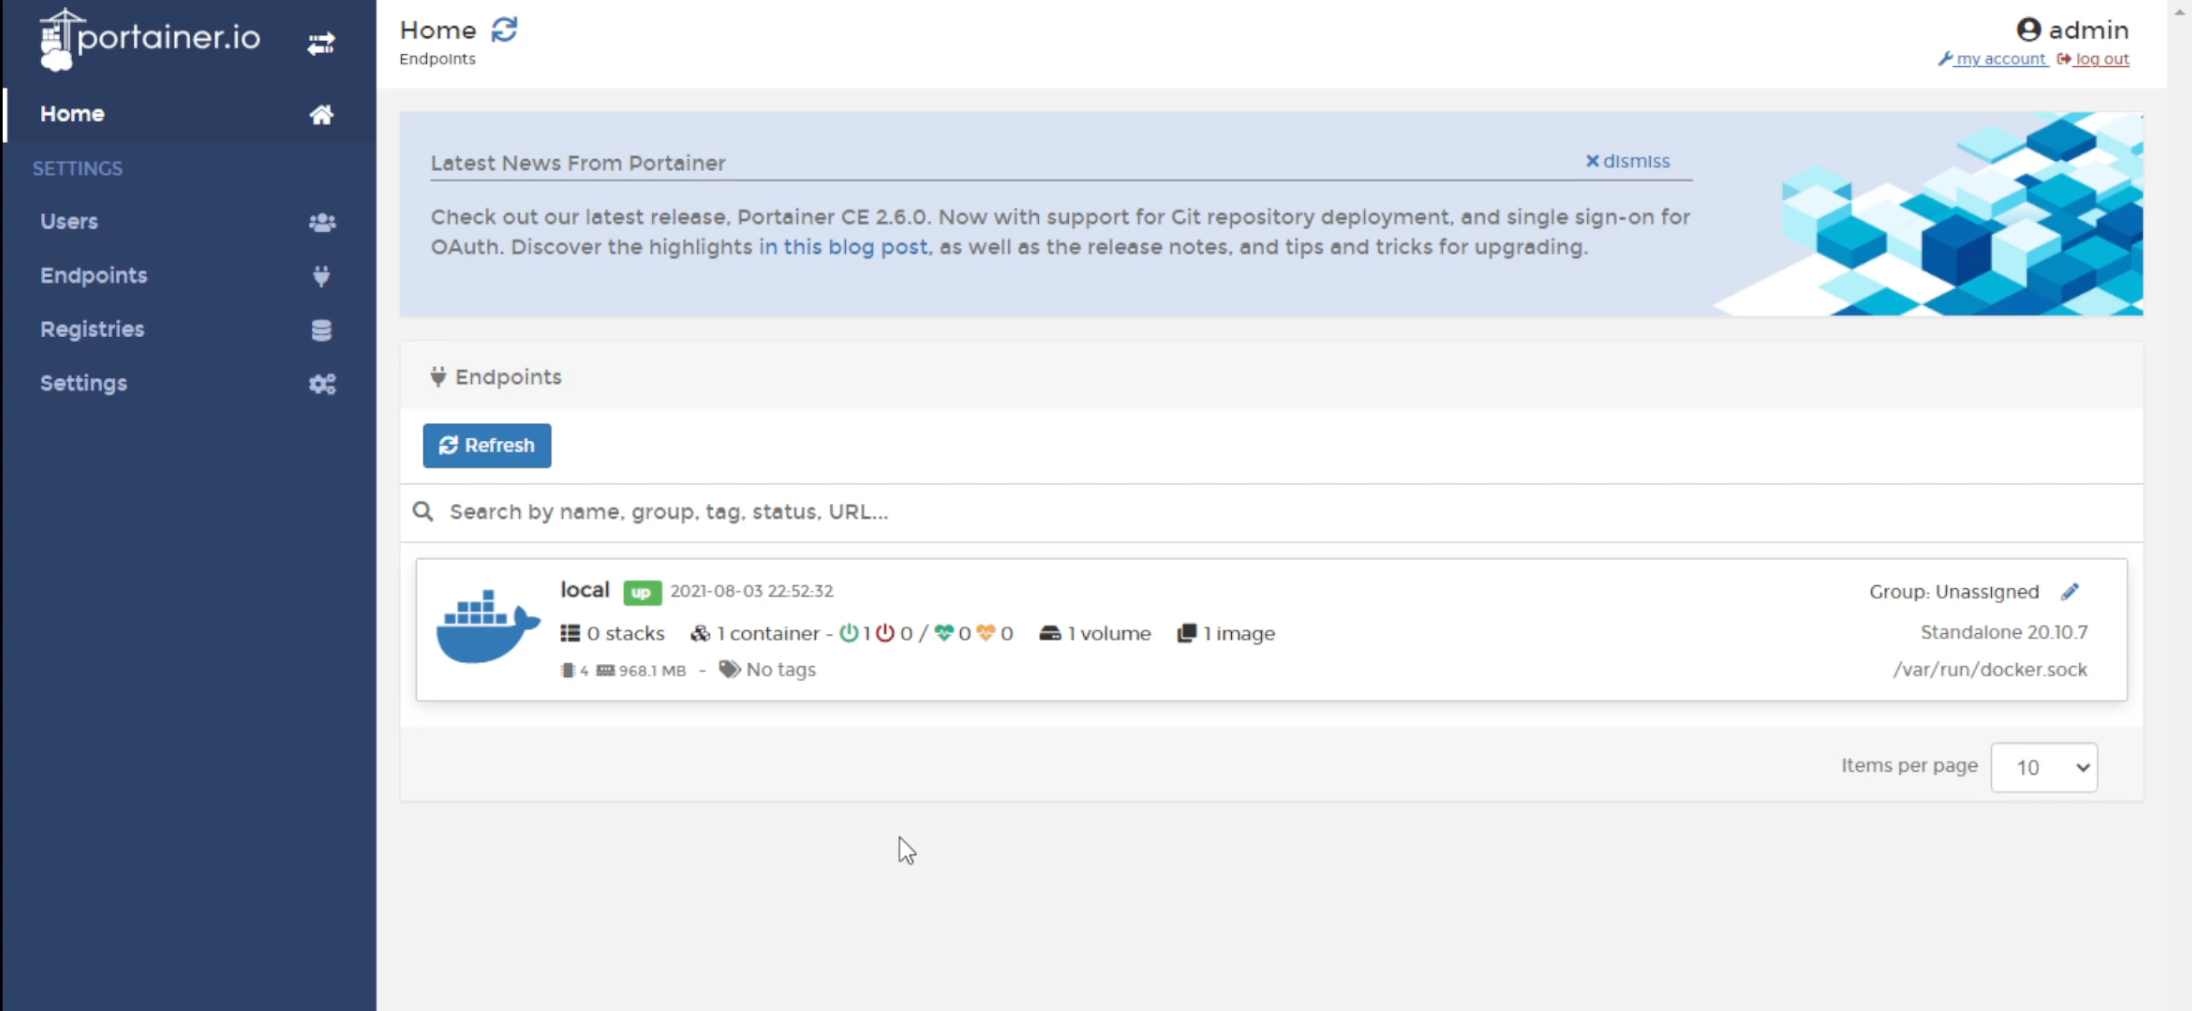
Portainer is now configured, connected to our docker environment and ready to serve!
6 – Identify PRINTERS and USB WEBCAMs in linux
We are almost ready to run our multi-instance setup of octoprint, we just need to identify our devices in Linux to prepare the docker-compose file.
I assume both printers and webcams are connected to the Pi. Let’s go back to the terminal one more time and type the following commands:
ls /dev | grep 'ttyUSB\|ttyACM'this command will return the path of both printers:
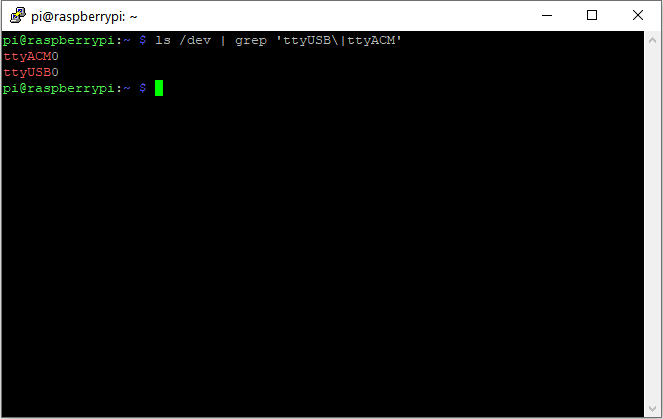
well, both printers were found! just prepend /dev/ and you will have the full path.
/dev/ttyACM0 --> Printer #1
/dev/ttyUSB0 --> Printer #2
Now we need to do the same to retrieve both WEBCAMS, type:
v4l2-ctl --list-devices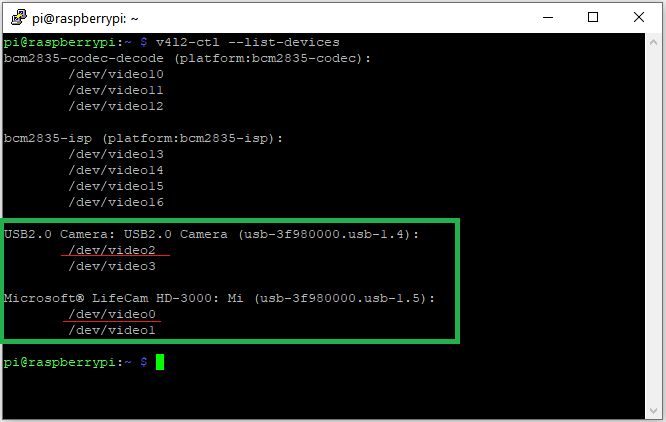
We got 4 results, the first 2 can be skipped, we are interested in USB-connected WEBCAMs which are the 3rd and 4th results. The path we need are the following:
/dev/video0 --> WebCam #1
/dev/video2 --> WebCam #2
With the terminal, we are done! from now on we will proceed with the browser interface.
7 – Create multiple instances of octoprint with Docker-Compose
From PORTAINER click on STACKS (1) and ADD STACK (2)
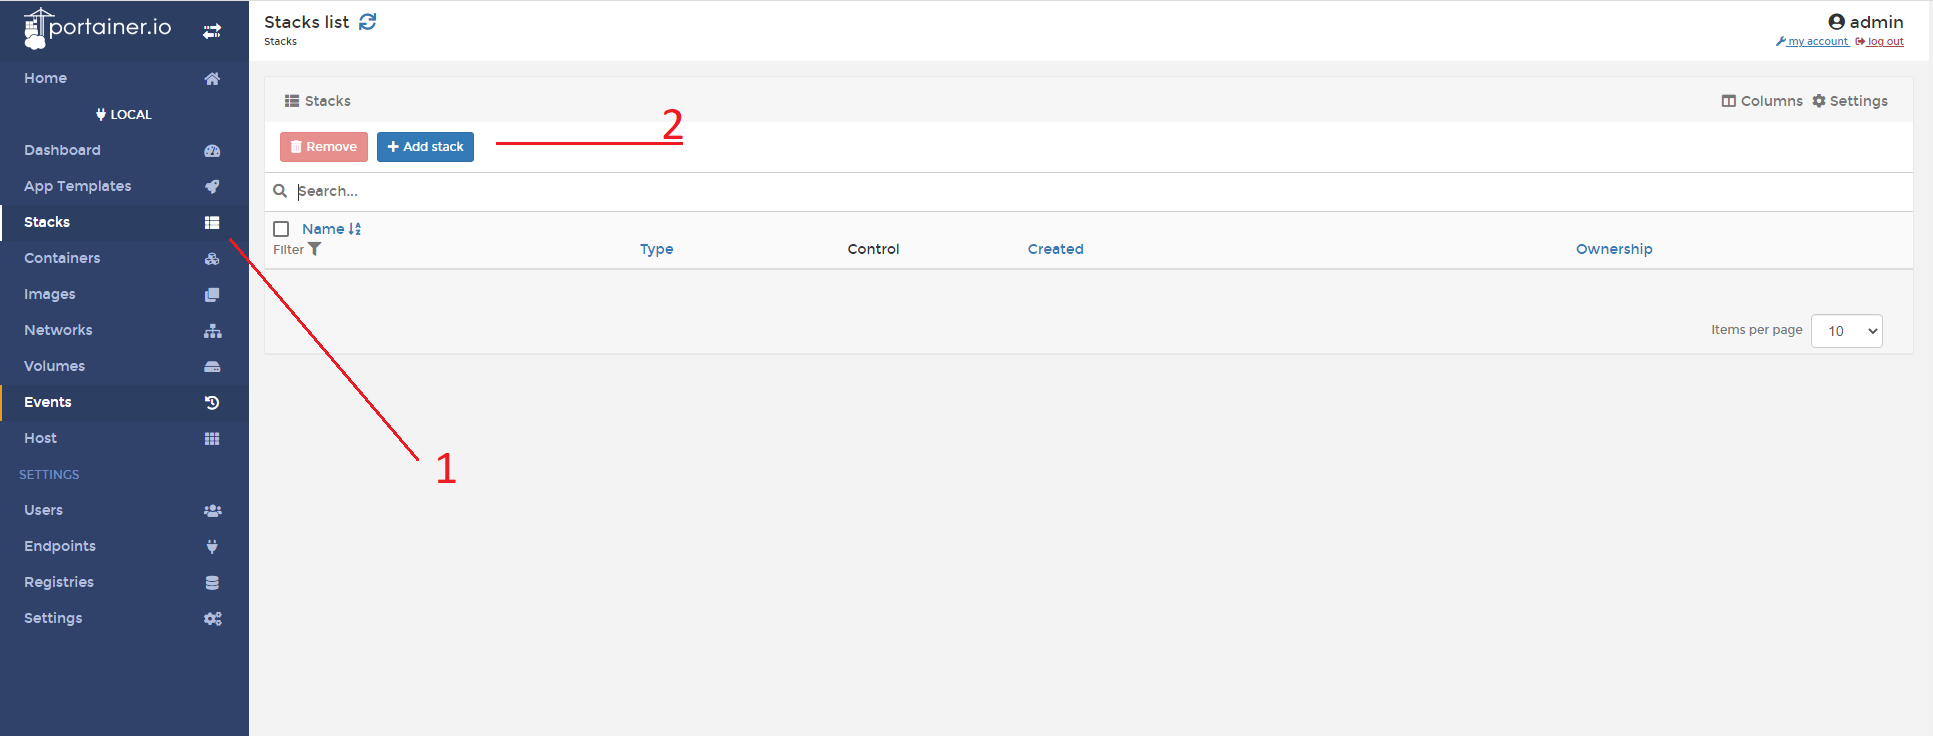
It will open a docker-compose interface. The first value we have to enter is the name of the stack, it can be casual but I always suggest using a name that has some kind of meaning to better remember what the stack is for. I will use multiInstance.
In the web editor section (2), we will type the Compose itself.
Remember to edit the compose accordingly to values gathered at STEP 6
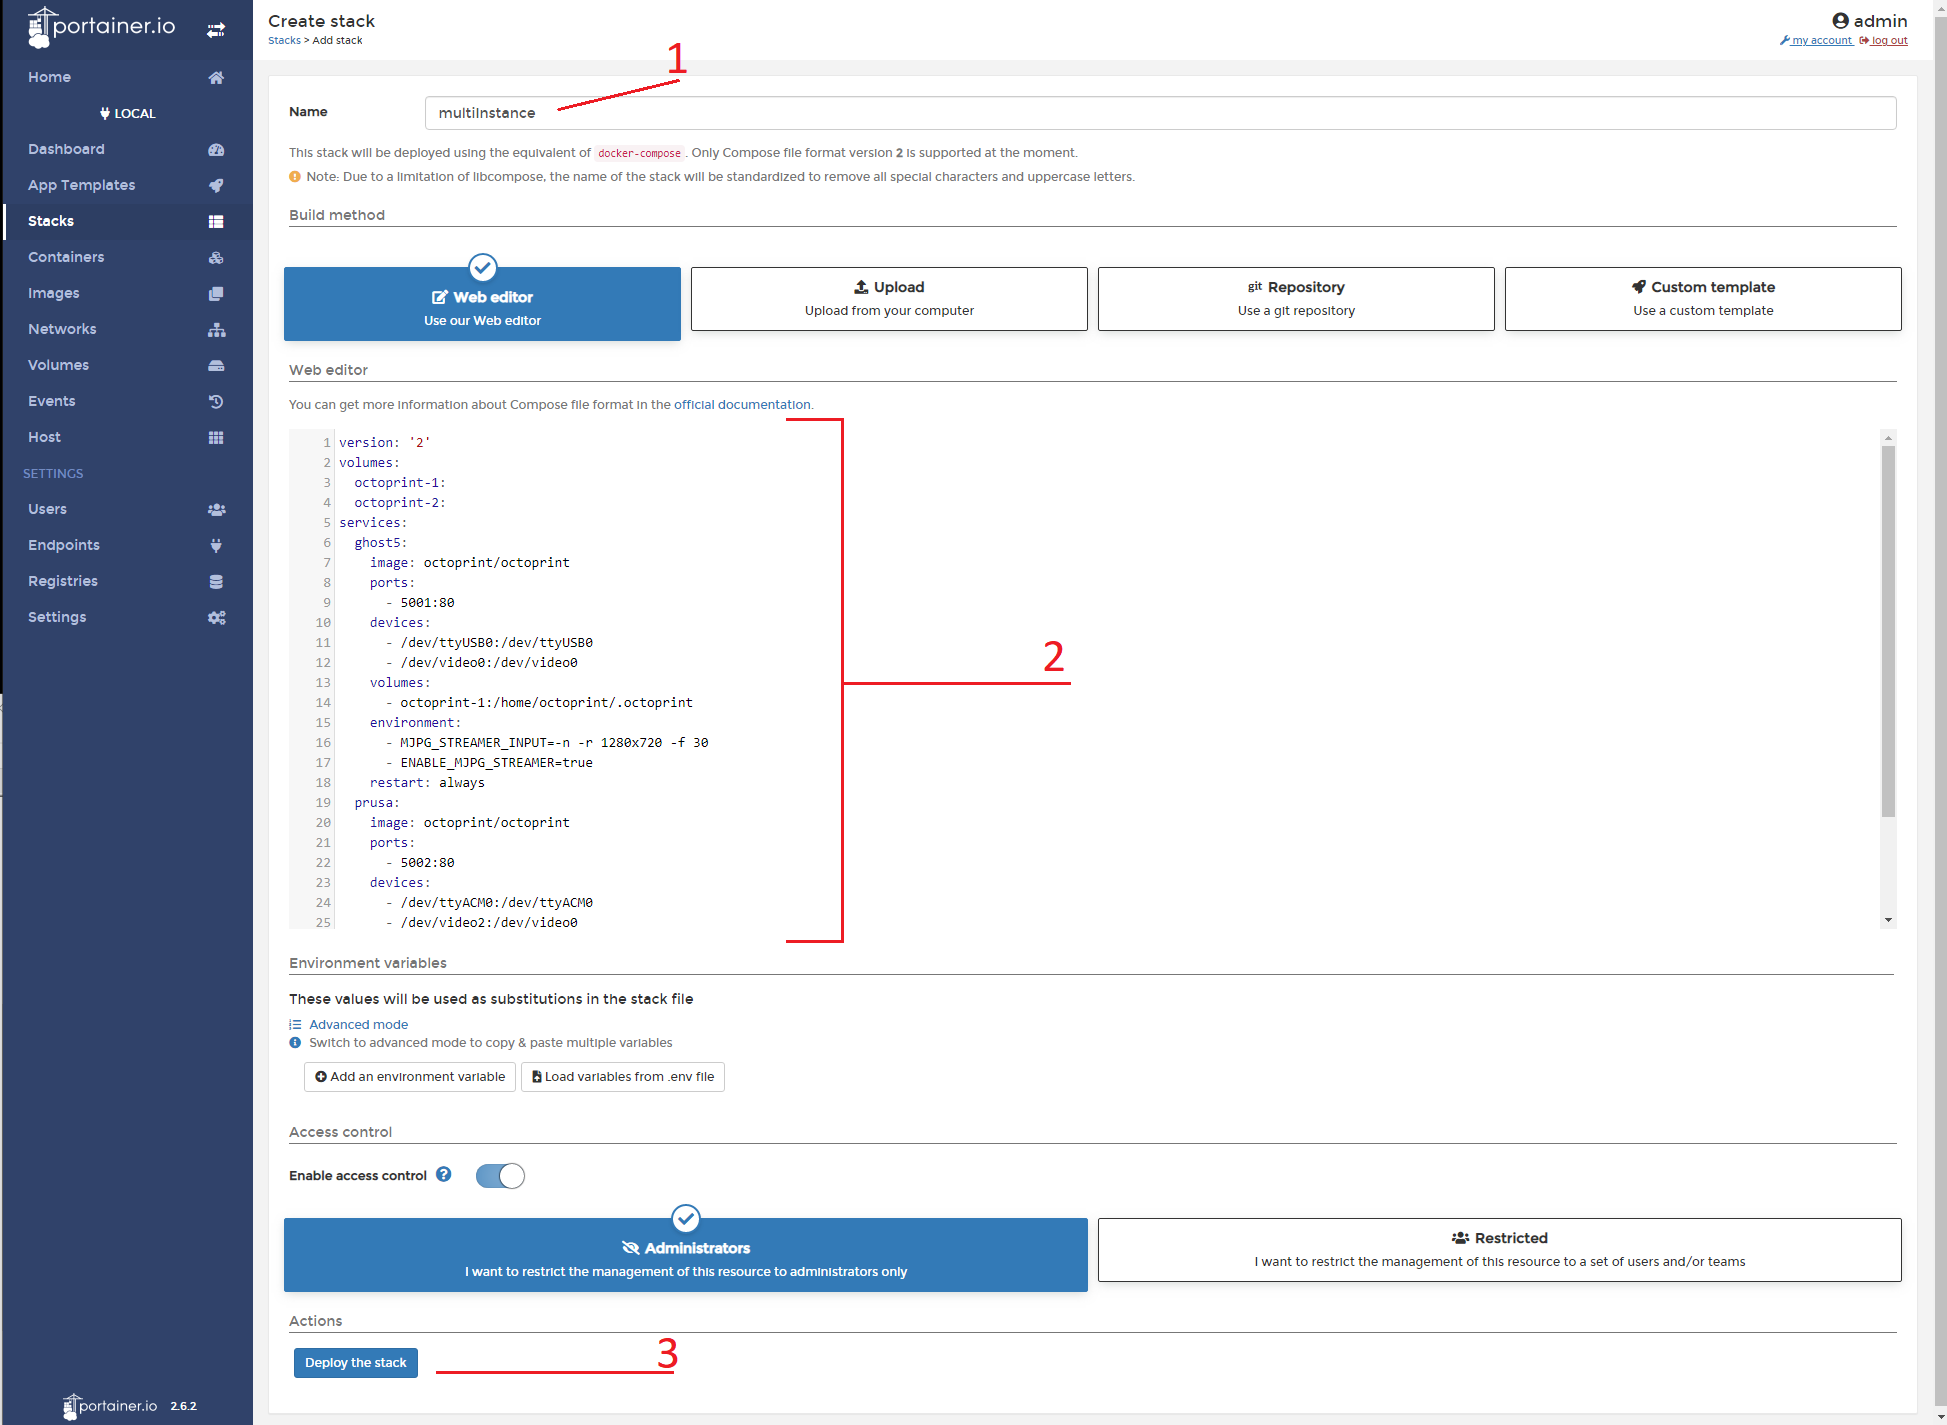
version: '2'
volumes:
  octoprint-1:
  octoprint-2:
services:
  ghost5:
    image: octoprint/octoprint
    ports:
    #Port to reach octoprint that will control PRINTER #1
      - 5001:80
    devices:
    #Printer that belongs to ghost5 container (PRINTER #1)
      - /dev/ttyUSB0:/dev/ttyUSB0
    #WebCam that belongs to ghost5 container (WEBCAM #1)
      - /dev/video0:/dev/video0
    volumes:
      - octoprint-1:/home/octoprint/.octoprint
    environment:
      #Define the quality of the stream from the WEBCAM #1
      - MJPG_STREAMER_INPUT=-n -r 1280x720 -f 30
      #Enable the stream of the WEBCAM #1
      - ENABLE_MJPG_STREAMER=true
    restart: always
  prusa:
    image: octoprint/octoprint
    ports:
    #Port to reach octoprint that will control PRINTER #2
      - 5002:80
    devices:
    #Printer that belongs to prusa container (PRINTER #2)
      - /dev/ttyACM0:/dev/ttyACM0
    #WebCam that belongs to prusa container (WEBCAM #2)
      - /dev/video2:/dev/video0
    volumes:
      - octoprint-2:/home/octoprint/.octoprint
    environment:
      #Define the quality of the stream from the WEBCAM #2
      - MJPG_STREAMER_INPUT=-n -r 1280x720 -f 30
      #Enable the stream of the WEBCAM #2
      - ENABLE_MJPG_STREAMER=true
    restart: always
and click Deploy the stack (3) button.
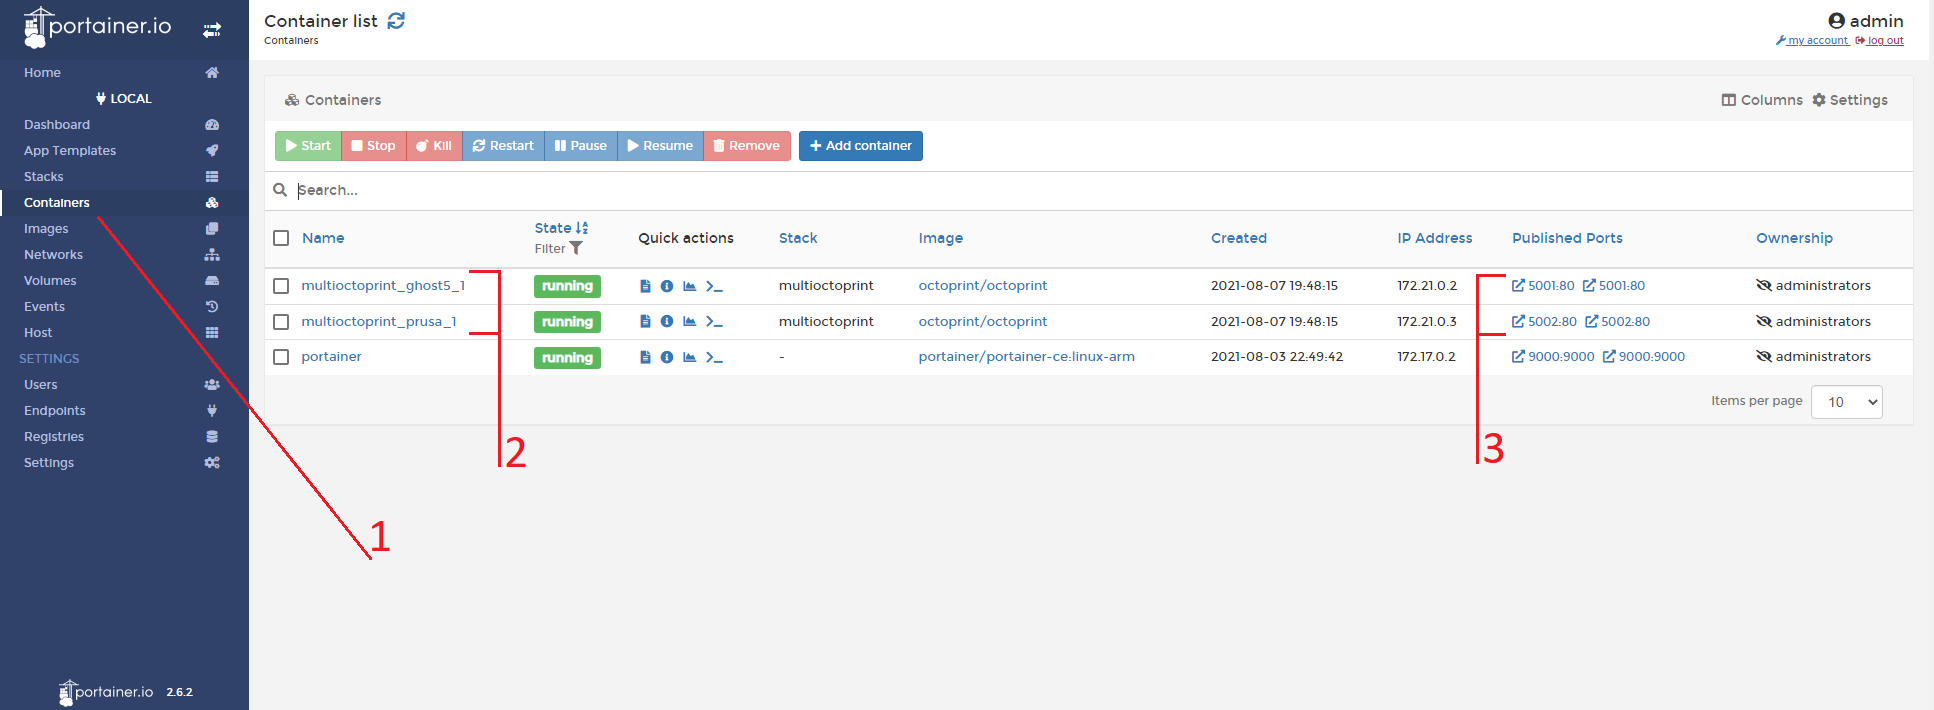
Done!, the two instances of Octoprint are ready, to verify the status click on Containers (1)
We can see the containers (2) with the status RUNNING and the port (3) to reach them.
Now everything is ready to set up Octoprint and control both printers with one Raspberry Pi handling two Octoprint instances
To reach out Octoprint for Printer #1 just type in your browser address bar the hostname/IP of the raspberry followed by the port number for printer 1, in the example 5001
If you want to control Printer #2 just use the port assigned to it, in the example 5002
http://raspberrypy:5001/  --> Printer #1

http://raspberrypy:5002/  --> Printer #2
Well done! this tutorial is ended! I can just say Happy Printing ! with your new MultiInstance Octoprint setup!
We have been unable to get this to work on a Raspberry Pi 3+ 2014. We have been able to get this to work on a Raspberry Pi 3+ 2017.
As far as I know, there isn’t much of a variation between the two. Is there any other specific error that occurred during the deployment?
Did you try to swap the SD CARD between the two raspberry? (It is important that the printer is on during deployment.
We believe that it was our the procedure. We now have the Docker Swarm up and running with both the Raspberry Pi Version 3+ 2014 and 2017 with the 2017 as the Manager and the 2014 as the Workers.
We are able to load six instances of OctoPrint.
do both raspberrys run on a 64 bit OS?
If not that might be the problem with the older pi.
I had similar issues with setting up influxdB2.x and Grafana.
I am running into a problem when trying to deploy Stacks in Portainer. When we click on the “Deploy the stack” we get the error message: “Deployment error failed to deploy a stack:”. What is causing this problem? How can I fix it?